If you’re here to look for a tutorial, I’ve compiled the tutorial bit at the start of the page for your convenience. The blog bit about how I made the lampshade continues after the tutorial.
Note: Blender is not the best software for modelling stuff for 3D printing. You really should use a CAD program like Fusion360. This post was written for people like me who are too lazy to install and learn a new program. After having taken a couple of days to learn Fusion360, I can safely say that that it is a superior product modelling experience and you really should take the time to learn it. It's free too! That said, this tutorial will still help you if you just want to go from blender to 3D printing.
Tutorial bit
In this short tutorial, we will focus on how to set the scale of blender for 3D printing.
We will not cover:
- How to use blender (Check Youtube)
- Modelling (Youtube)
- How to slice your model (use Cura)
- How to use your 3D printer (Instruction manual?)
- How to operate a computer (Ask your child)
- How to use the command line (Ask your computer friend)
- How to code a web server (Ask the Google)
- How to find corporate apartments in SF, LA, Seattle, and DC (30 day minimum)
Software and Hardware used:
- Blender 2.79 / 2.8
- Ultimaker Cura 4
- Creality Ender 3 (not very relevant to this tutorial)
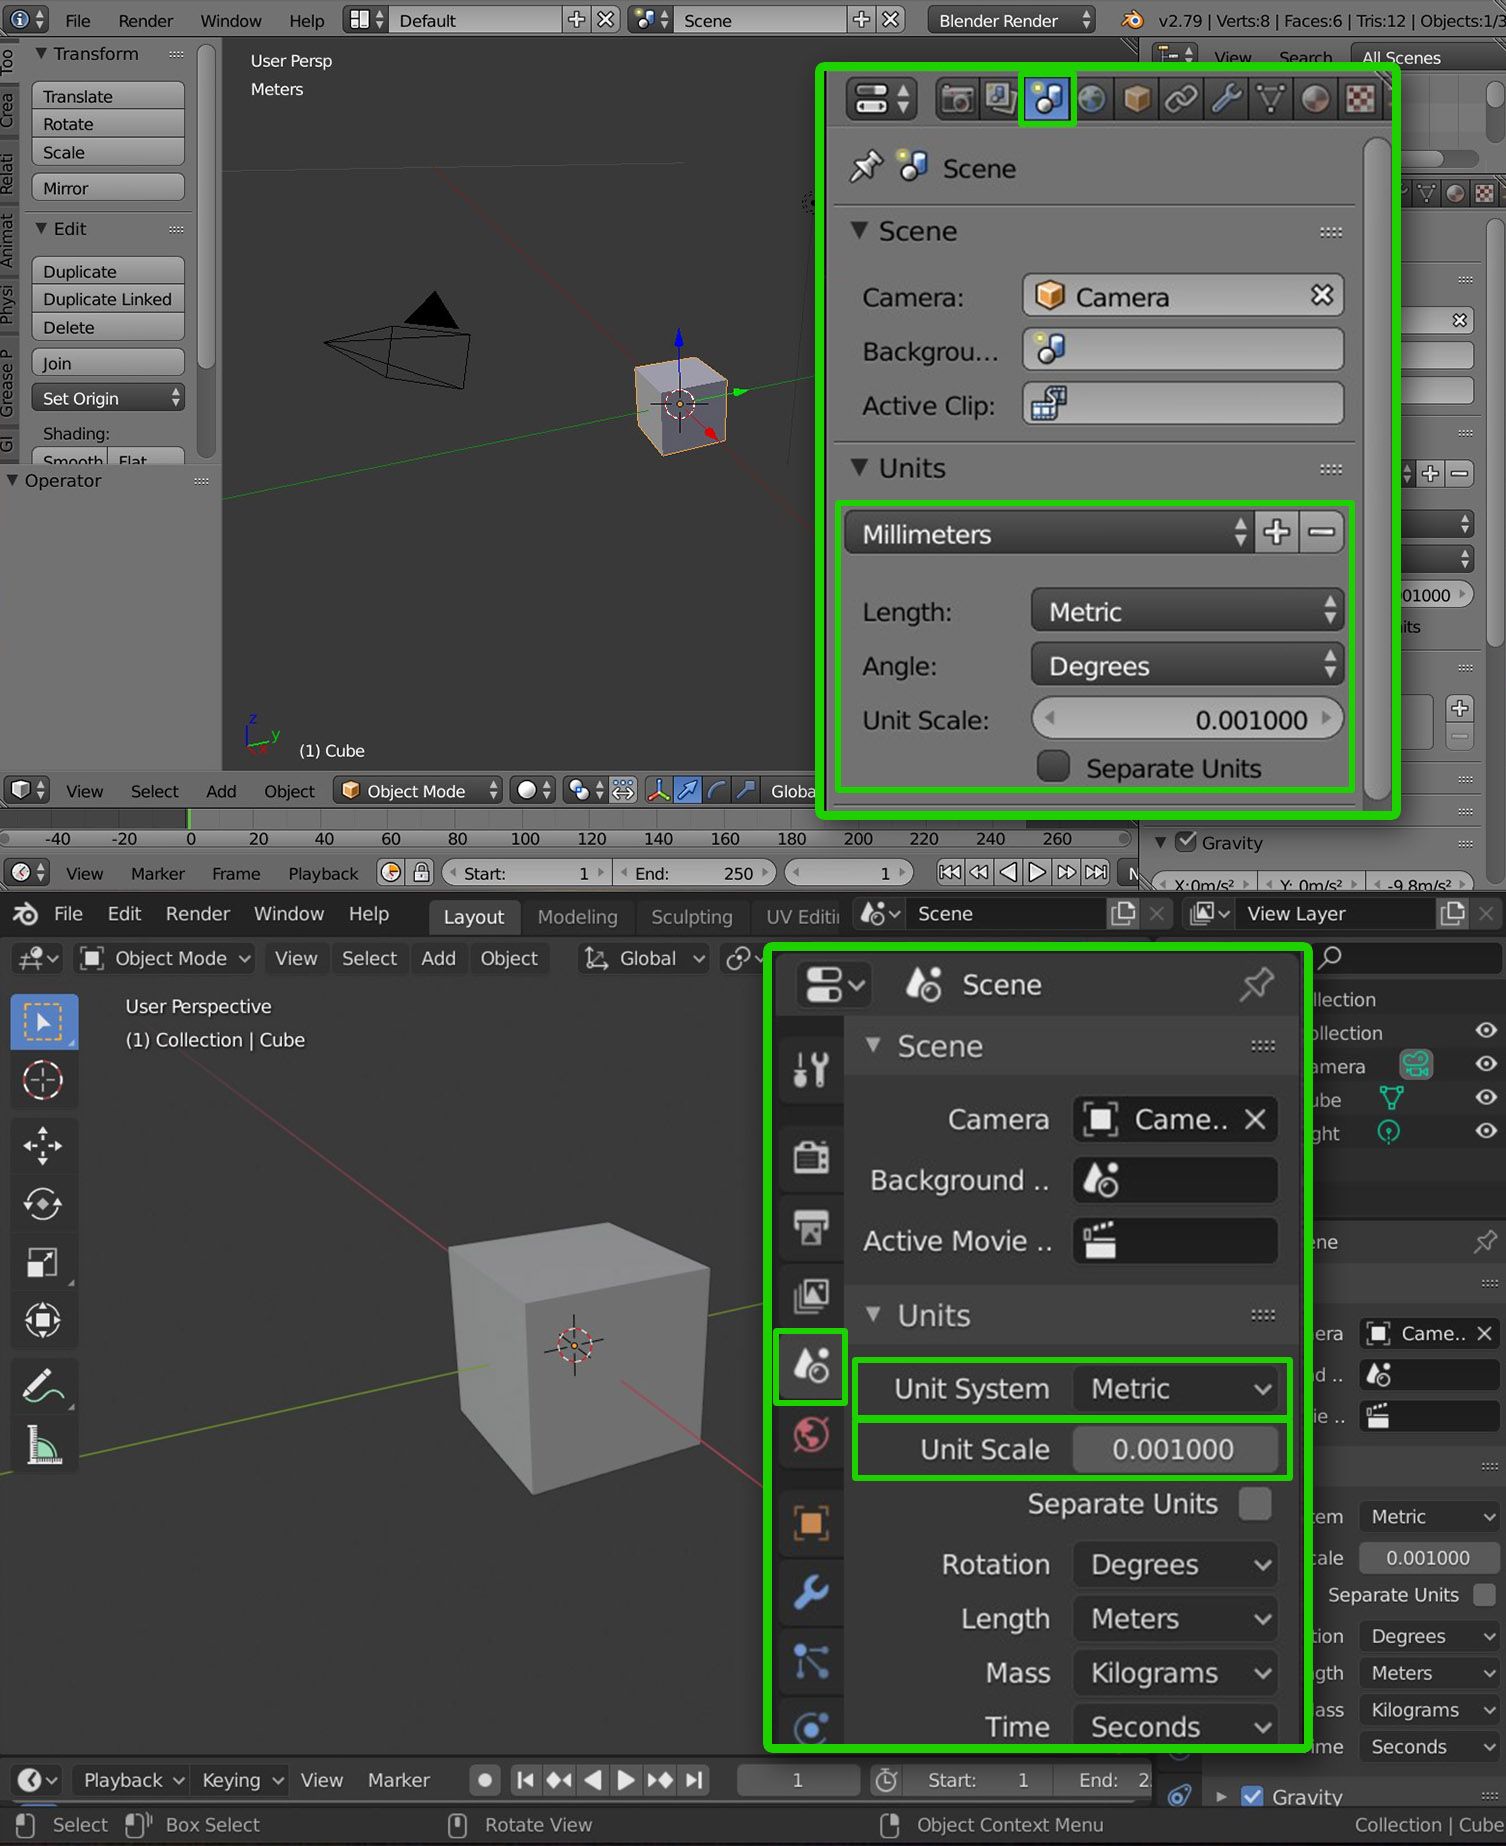
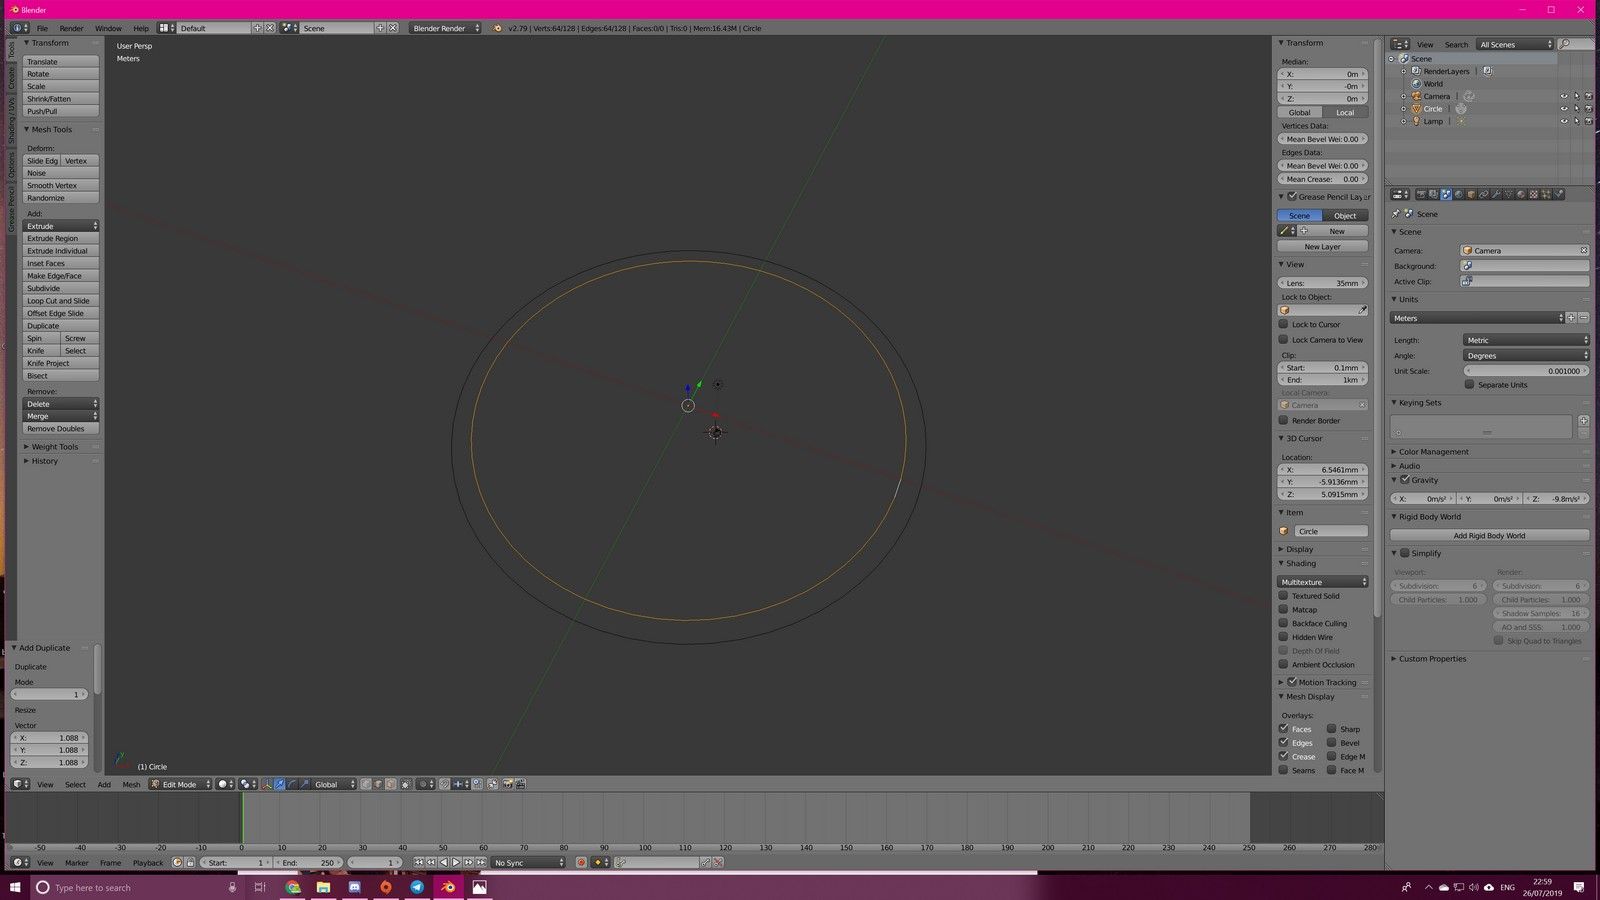
Open a new project
Blender 2.79 - Refer to the top screenshot
Blender 2.8 - Refer to the bottom screenshot

Set scale
In blender, everything is set to blender units by default. This is not optimal as you will not get a good sense of scale when creating your model, and when exporting the file to be 3D printed, you will have a terrible time fixing the scale.
Go into the Scene tab on the right panel. Look for units, and set the Length / Unit System to Metric. Set the Unit Scale to 0.001. This will set the units to mm.
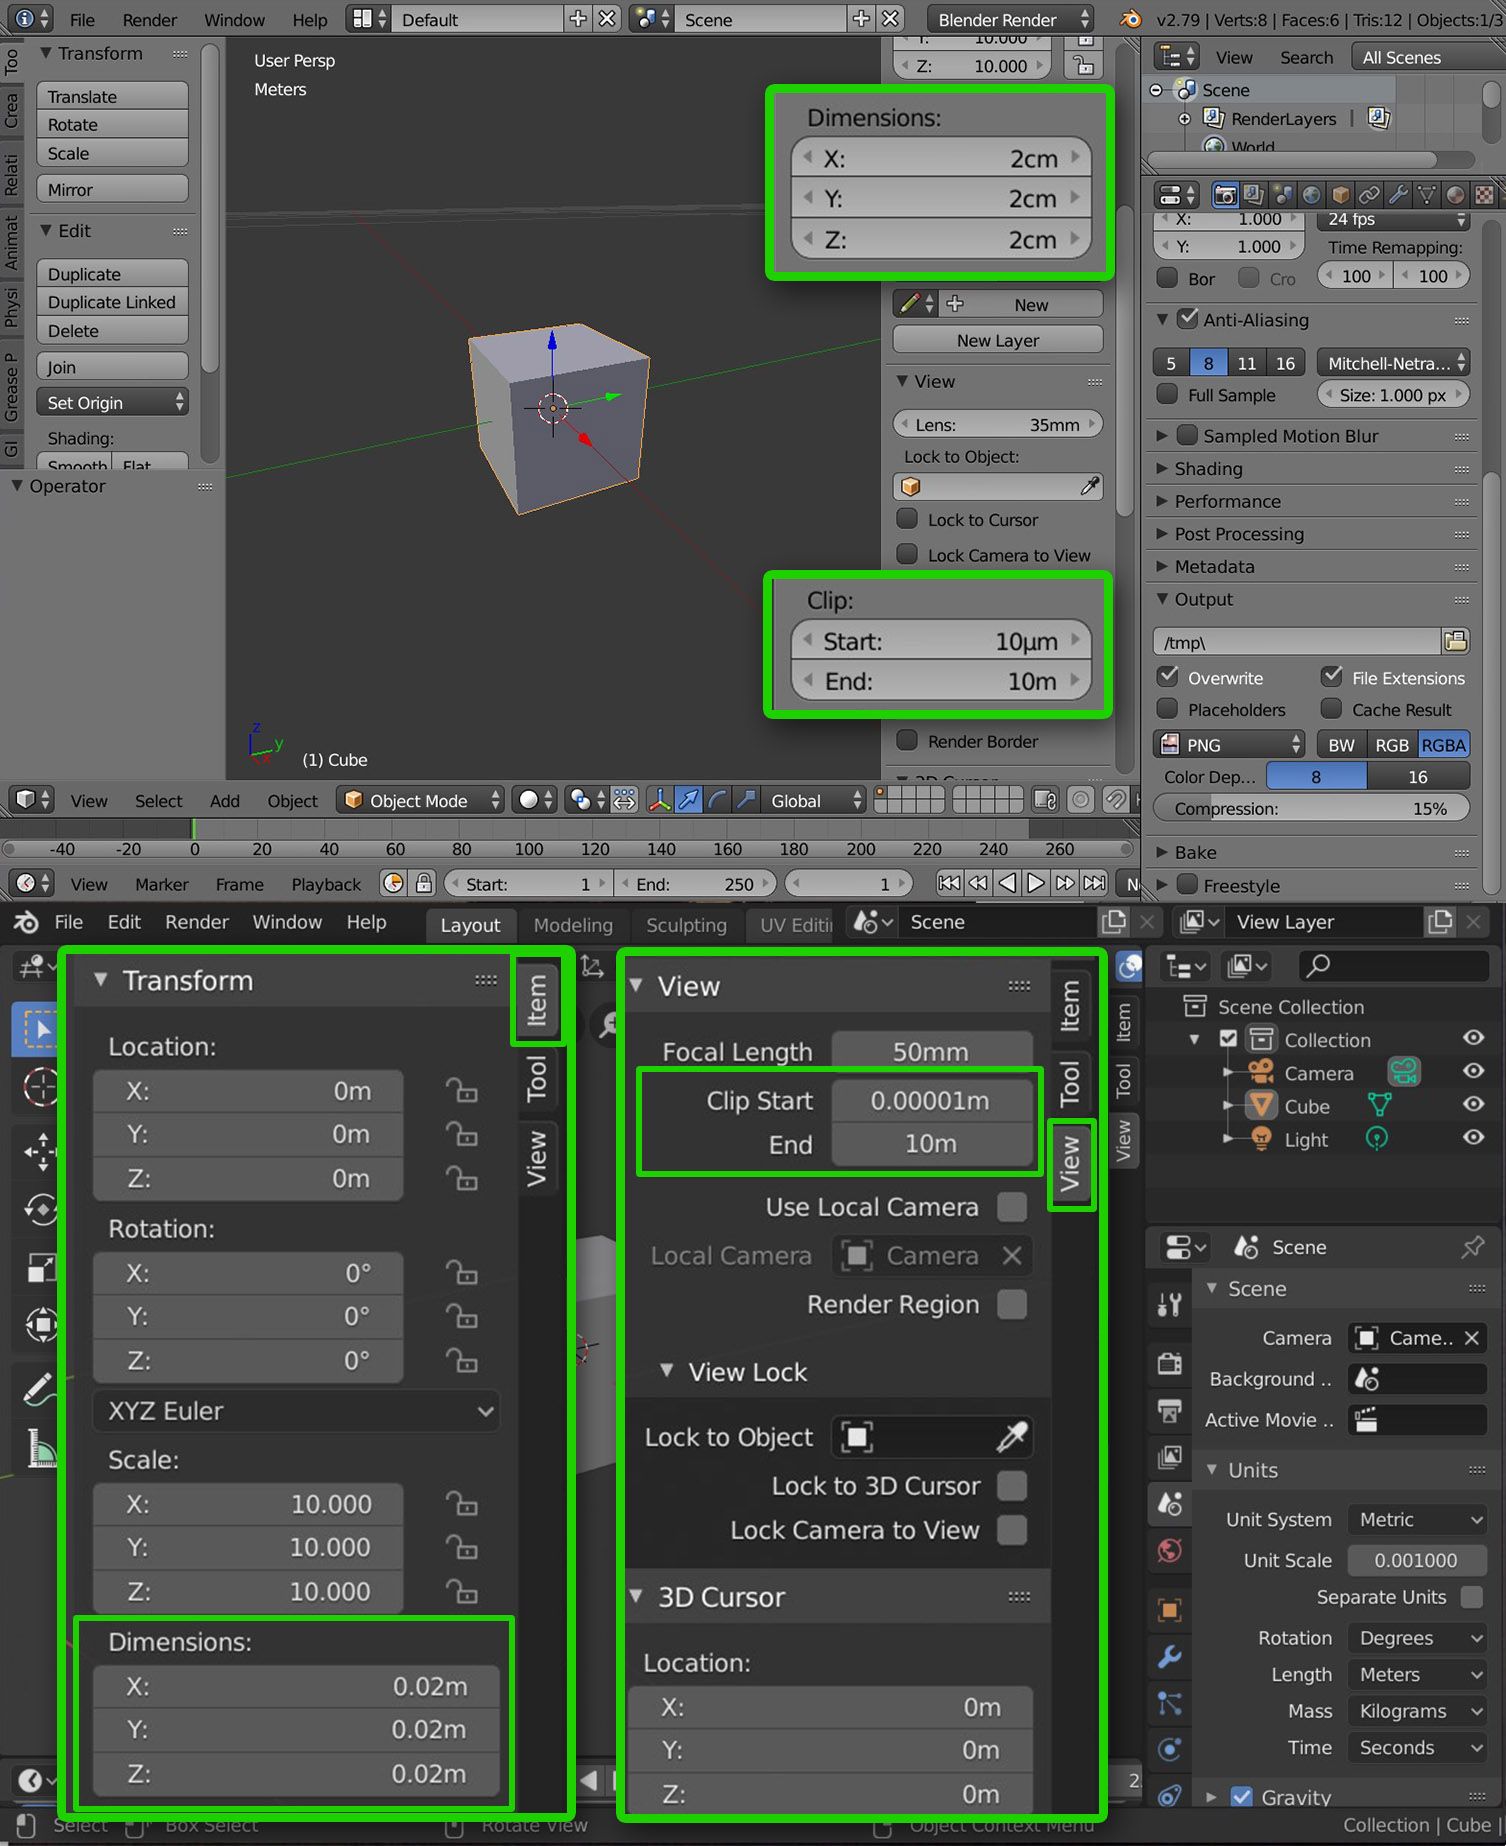
Set Cube Size and View
Ensure the cube is selected. Press N to bring up the right tool menu. Look for dimensions and set the dimensions of the cube to be 2 cm. You can either type 20mm, 2cm or 0.02m.
Next, we want to set the camera to a better min and max cutoff so it’s easier for us to model the product. Look for Clip Start and Clip End and change them to 0.01mm and 10m respectively. You can even make it 100m if you want to see further.
Blender 2.79 - The options for the menu are under the tool menu.
Blender 2.8 - The options for the cube size is under Item tab, and the options for the camera is under the View tab.
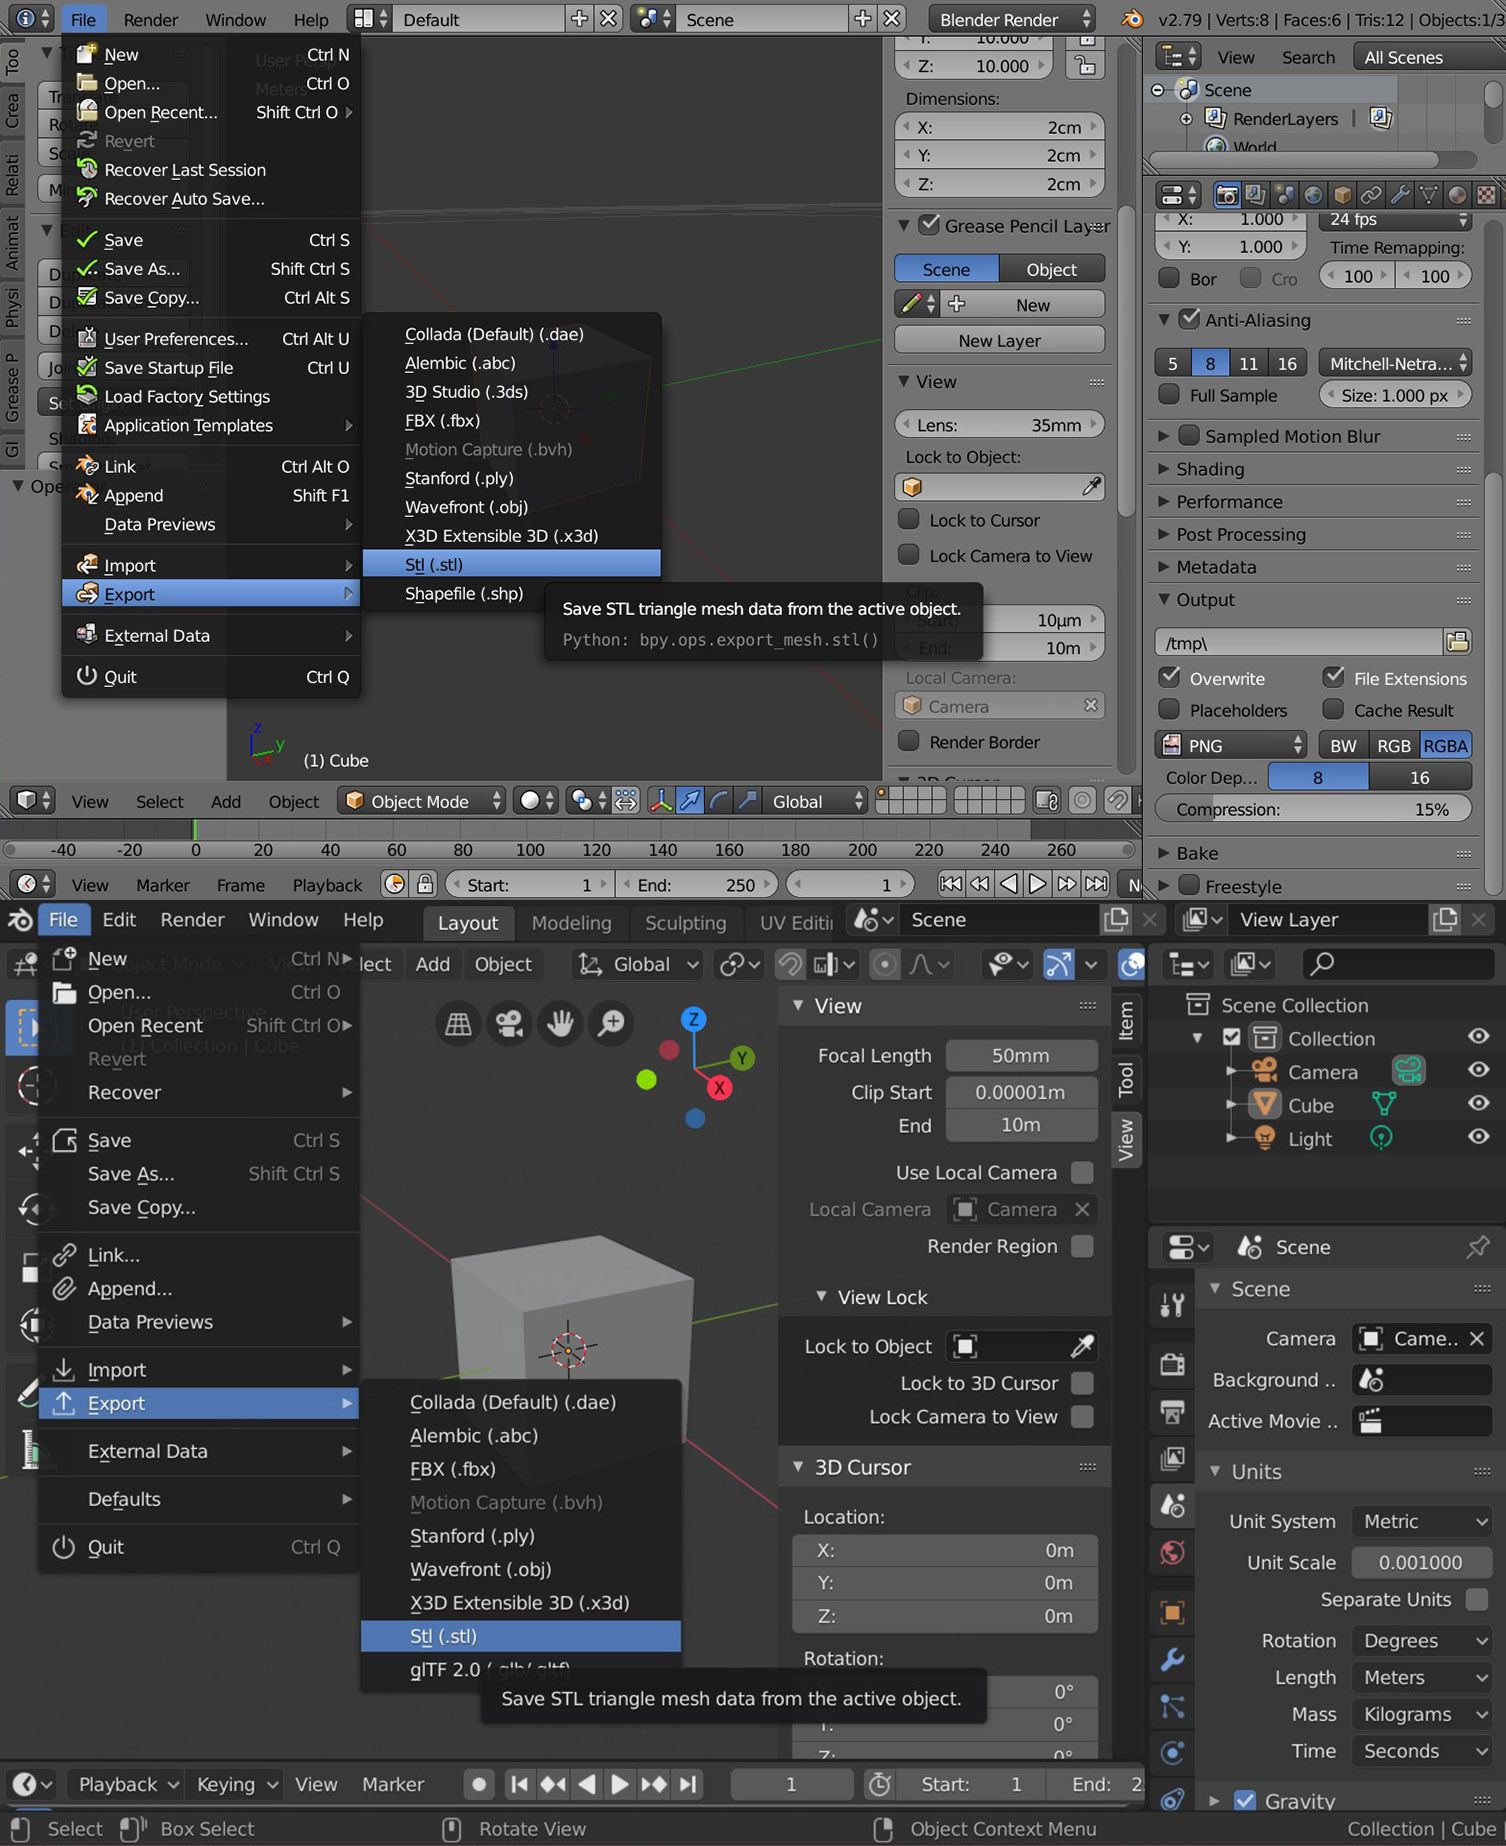
Export as STL
This is the important bit. You have to export the model as an STL file. I tried exporting it an OBJ before and while Cura does import it fine, I ended up with the model rotated strangely and at the wrong scale.
The option is found under File > Export > STL
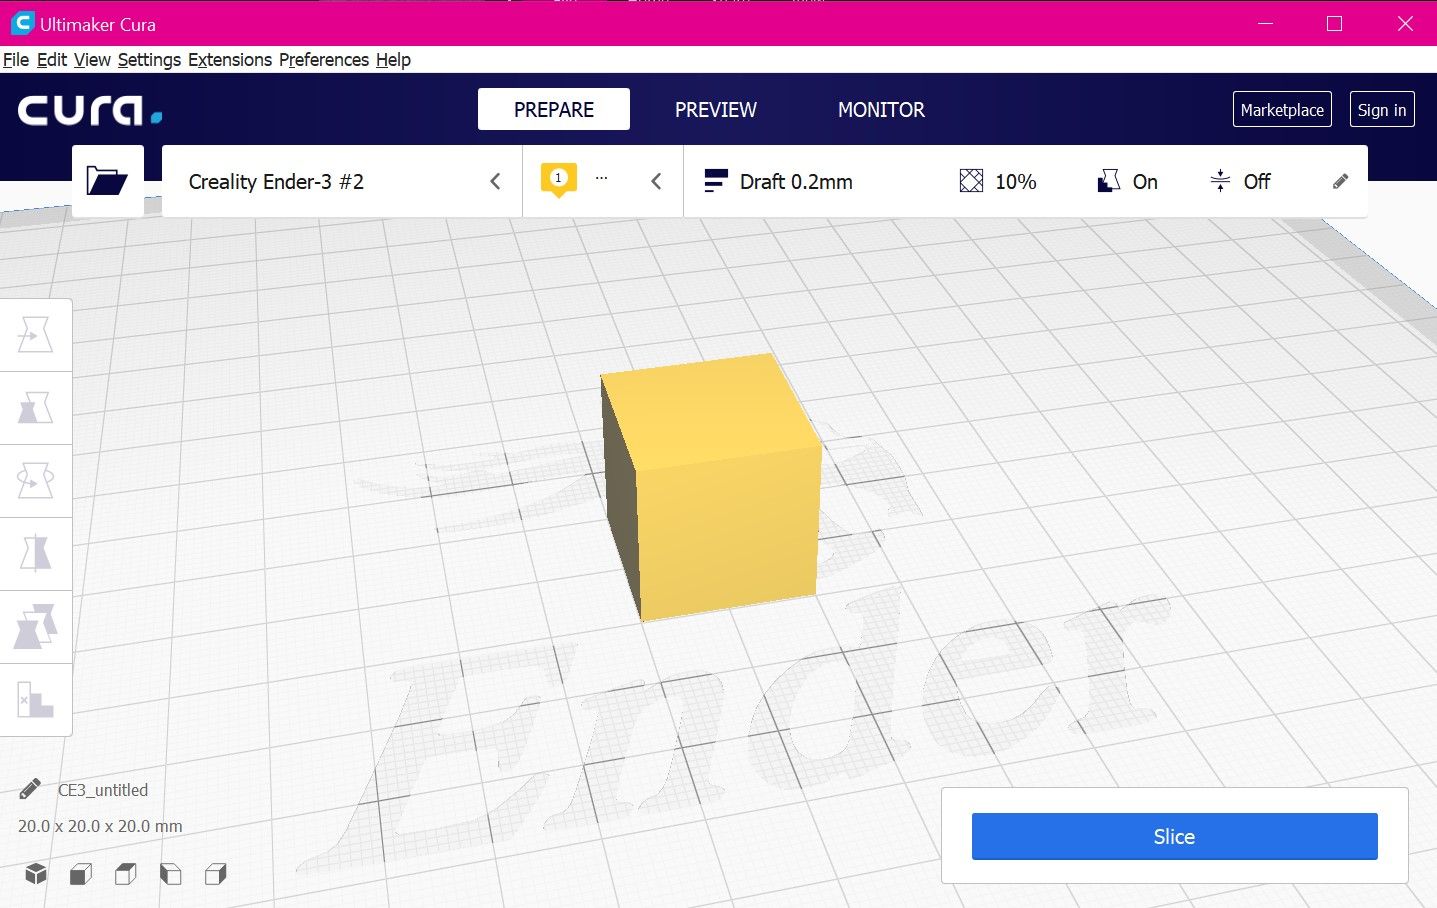
Import into Cura
Importing the STL into Cura is as simple as dragging and dropping the file onto the screen. And you’re done. Go ahead and slice and export the gcode for your 3D printer.
Blog bit
I had a problem. I had a table lamp that I used while painting my models or doing any work at my desk. The issue is that it consisted of a bulb that was screwed into a holder. It had no lampshade and that meant that as I painted, the light was blinding me as well as lighting up the table. I bought these things separately for the purpose of making my room brighter and I was way too cheap to buy one with a lampshade.
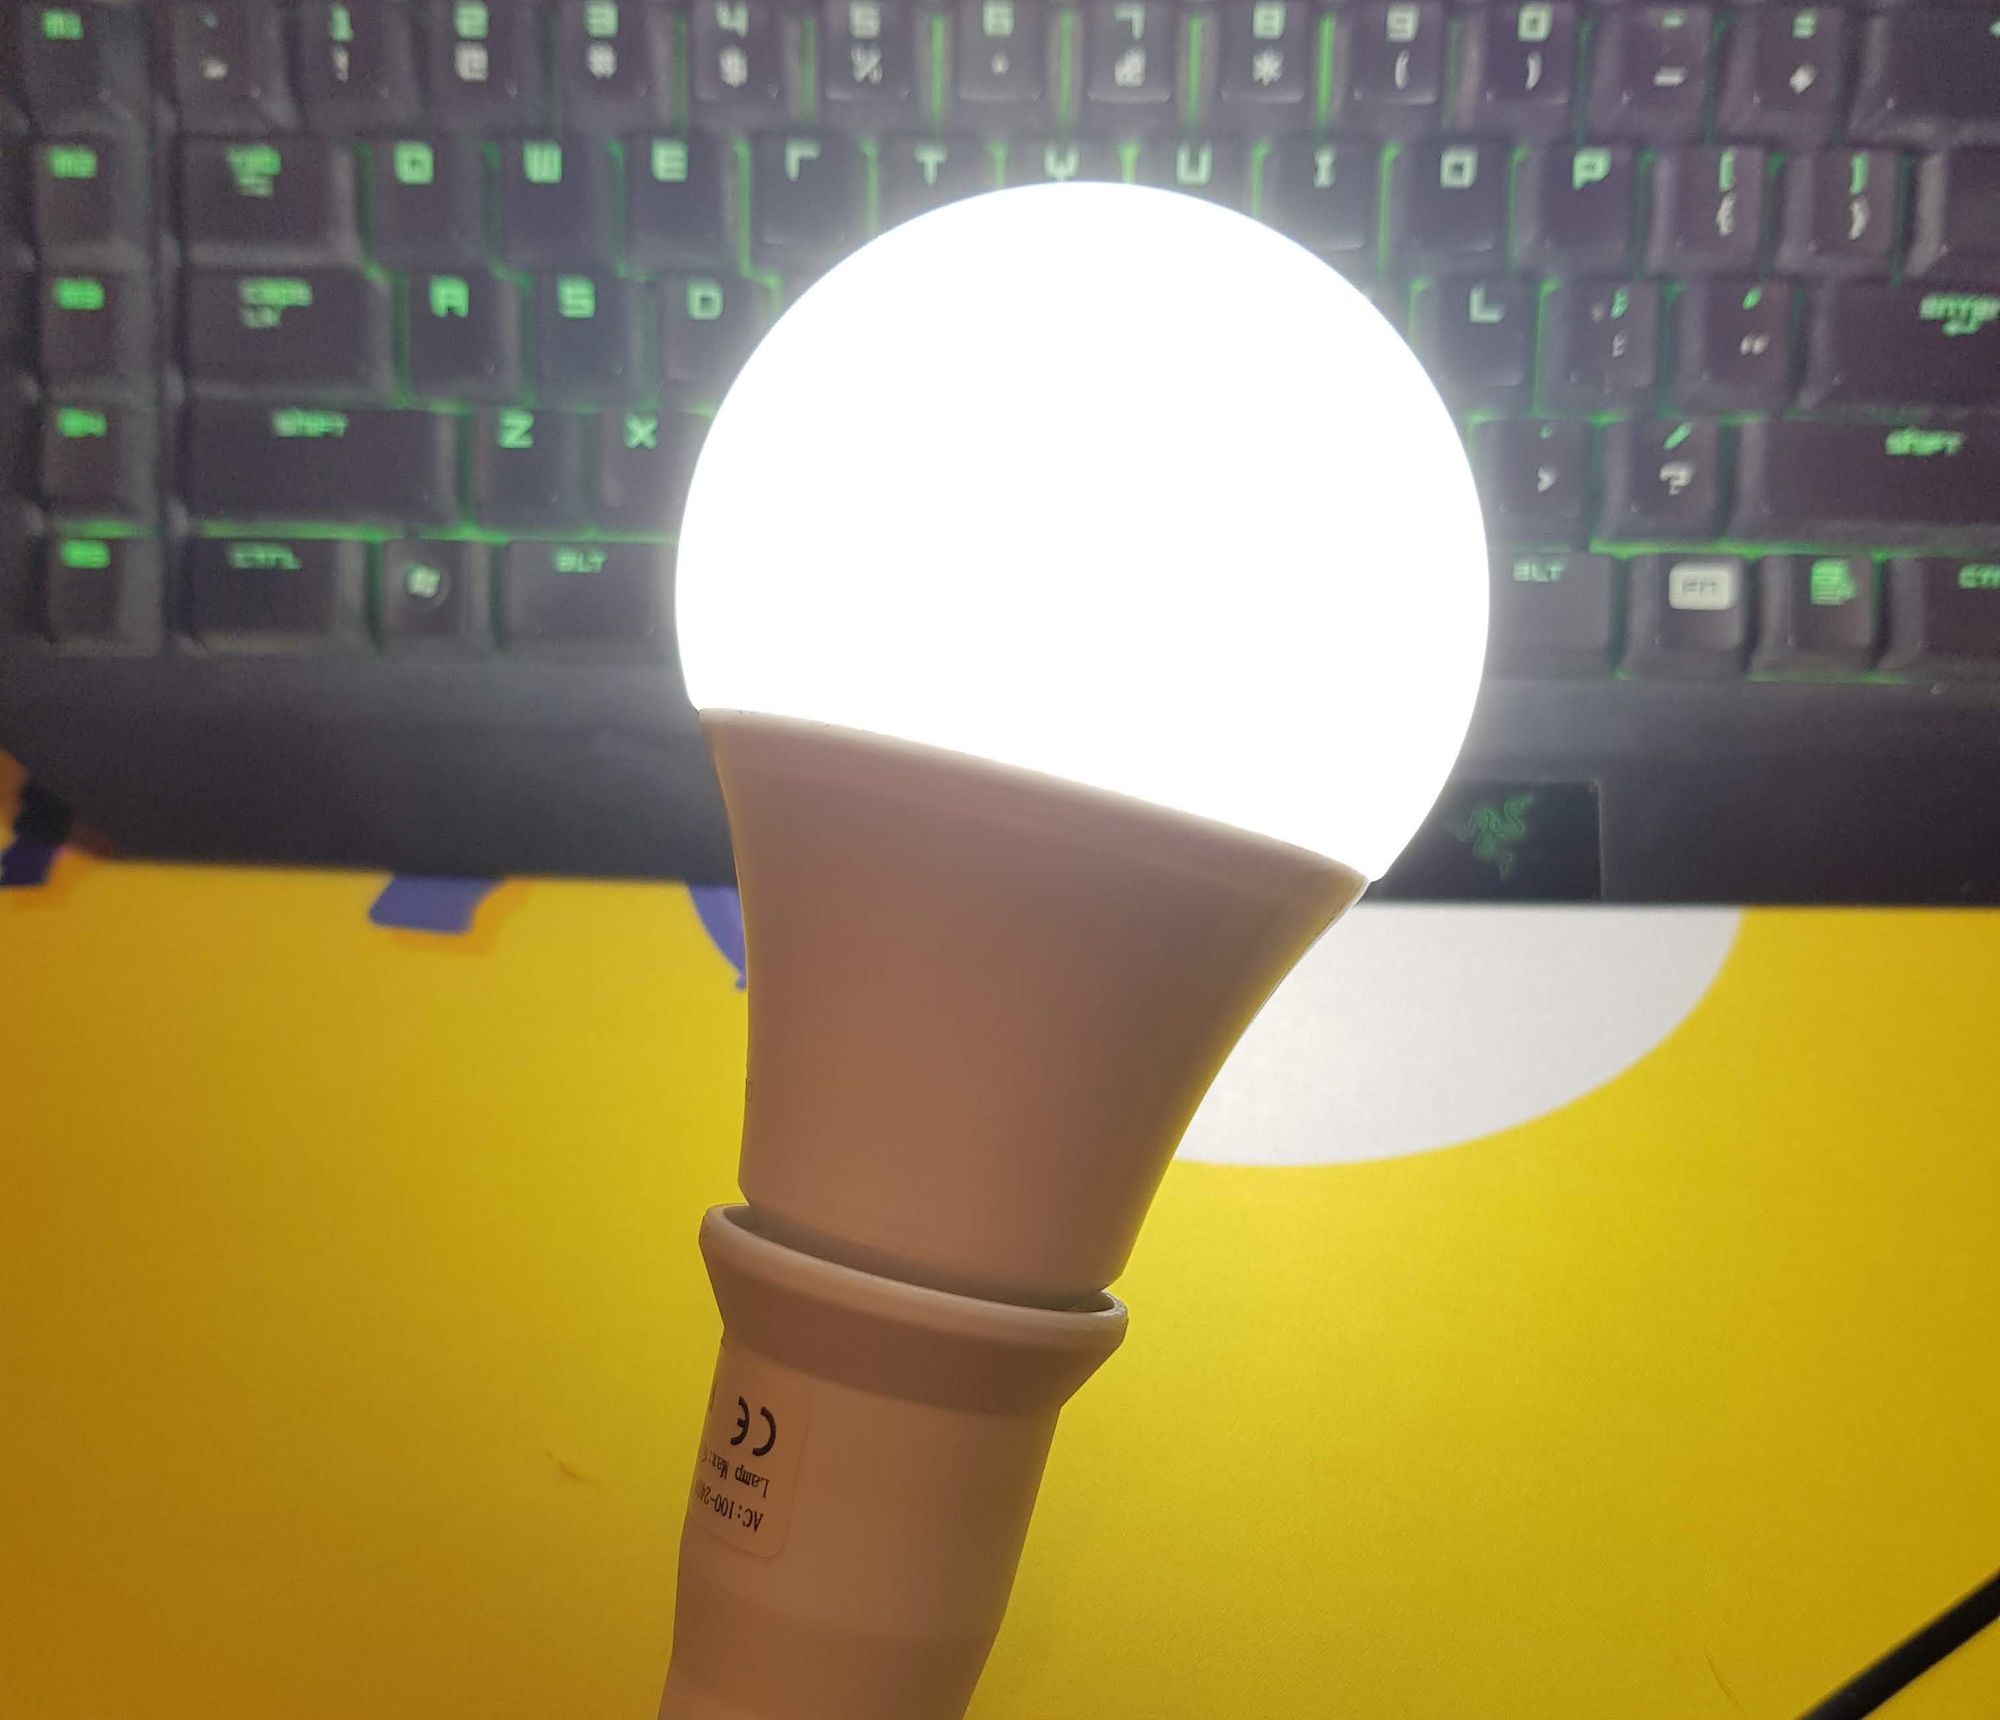
As luck would have it, I happened to have a 3D printer with translucent filament lying around, as is common with these modern houses. So I got to work figuring out how to create a lampshade.
Take real world measurements
The first thing you’ll want to do is to take measurements of the thing you want to print a thing for. It’s always good to make sure you have a list of measurements before jumping into modelling. This will save you a lot of time when you create your model.
For these measurements, you should take them in mm, as it is the standard for the slicer and 3D printers to use that. If your ruler only does inches, you might want to throw it out and buy a new one.
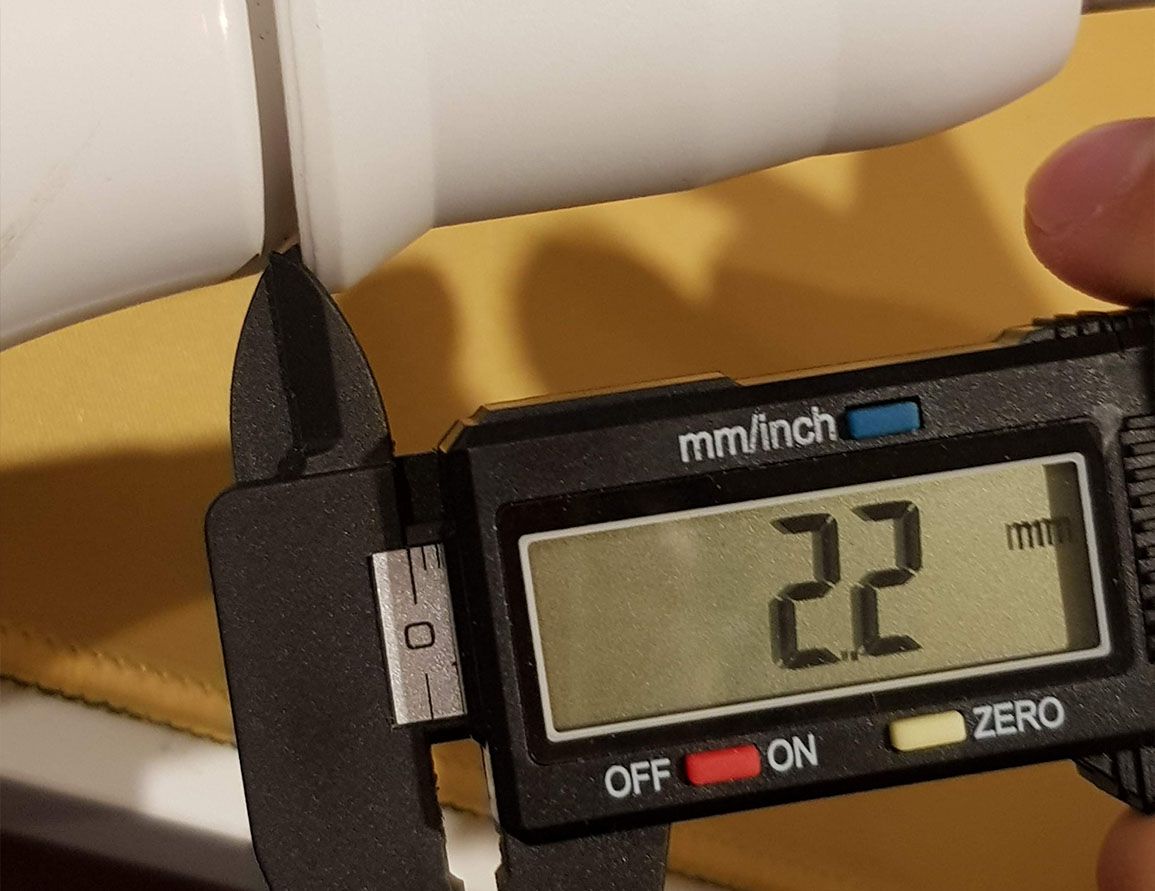
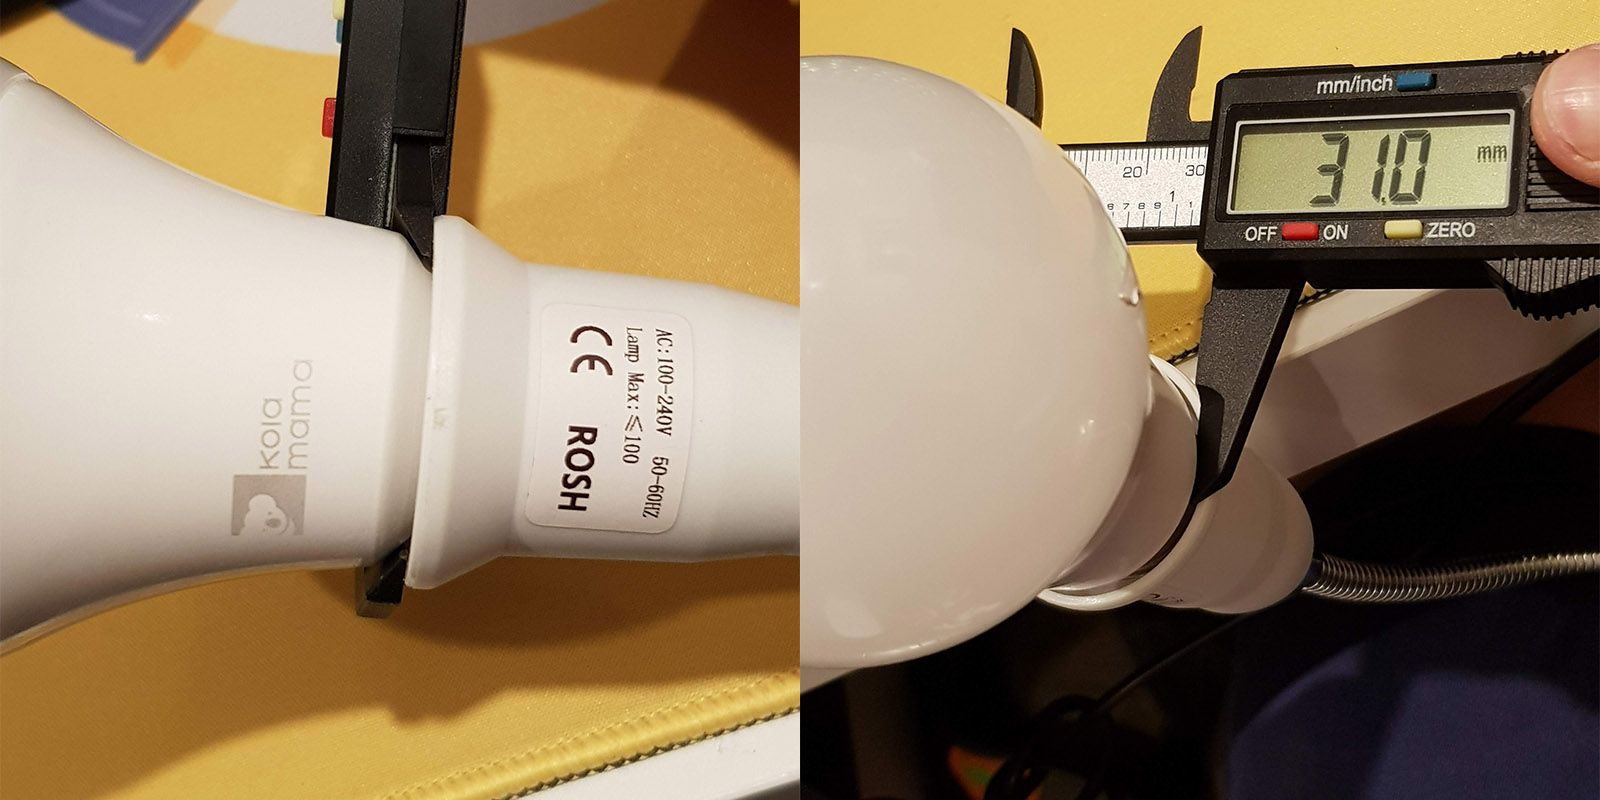
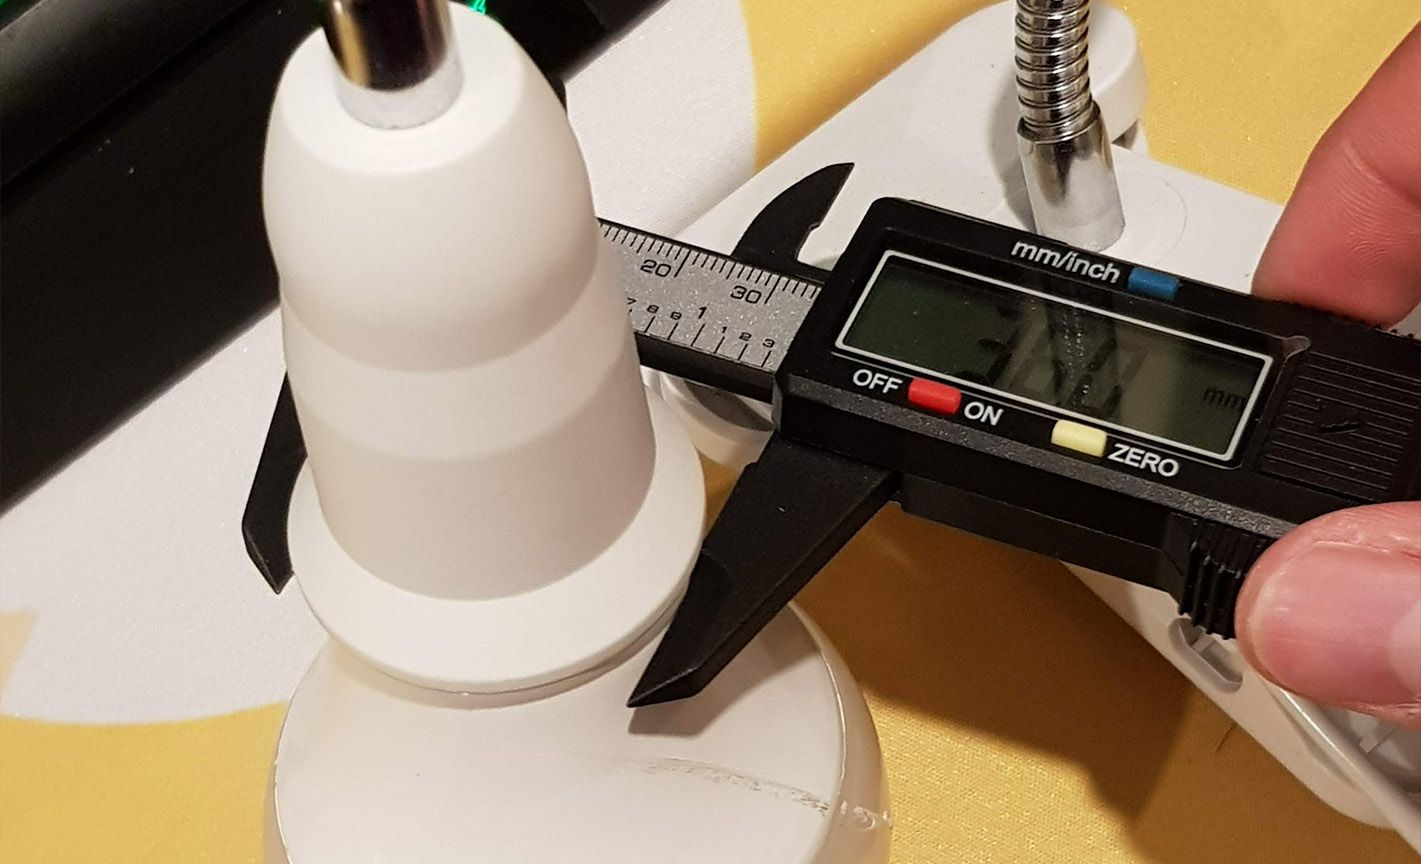
From the measurements I took, the base would need to be roughly a doughnut shape. With an inner diameter of about 31mm, and outer diameter of more than 36mm, with the height about 2.2mm.
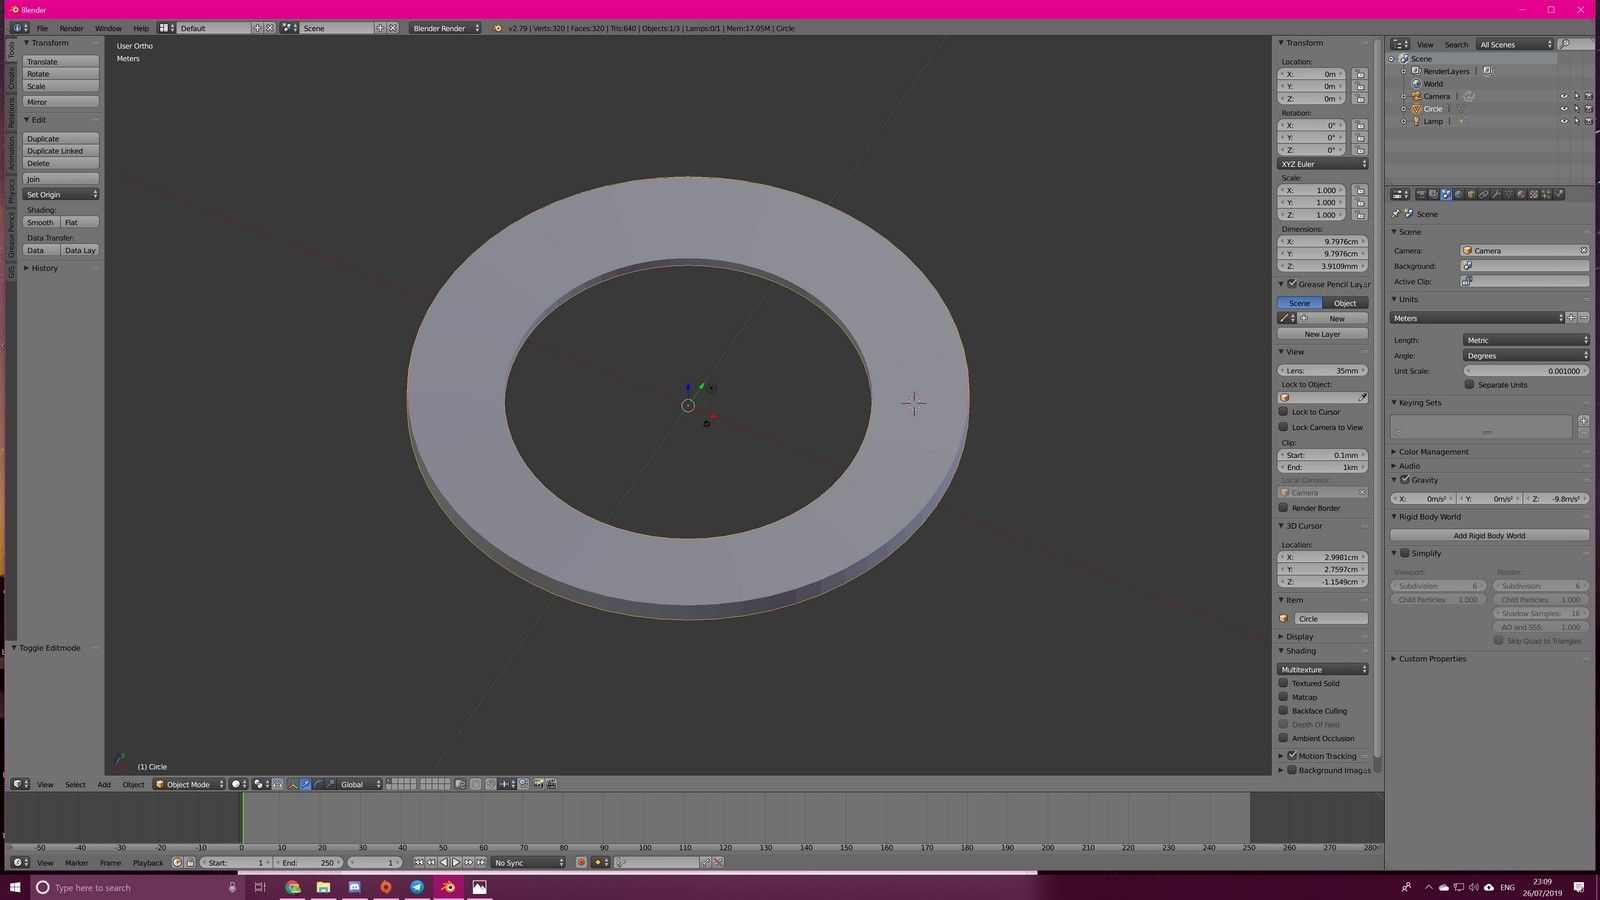
The modelling process
The first thing I did was to draw out the circles of 31mm and 36mm diameter each.
Next, I created a 2D doughnut with the bridge edges function, then I extruded the surface upwards by 2.2mm. I did extend the outer ring a lot, to make sure that it sticks out and gives enough space for the side of the shade to go up.
Afterwards, I selected half of the top faces and created something that looks like a shade.
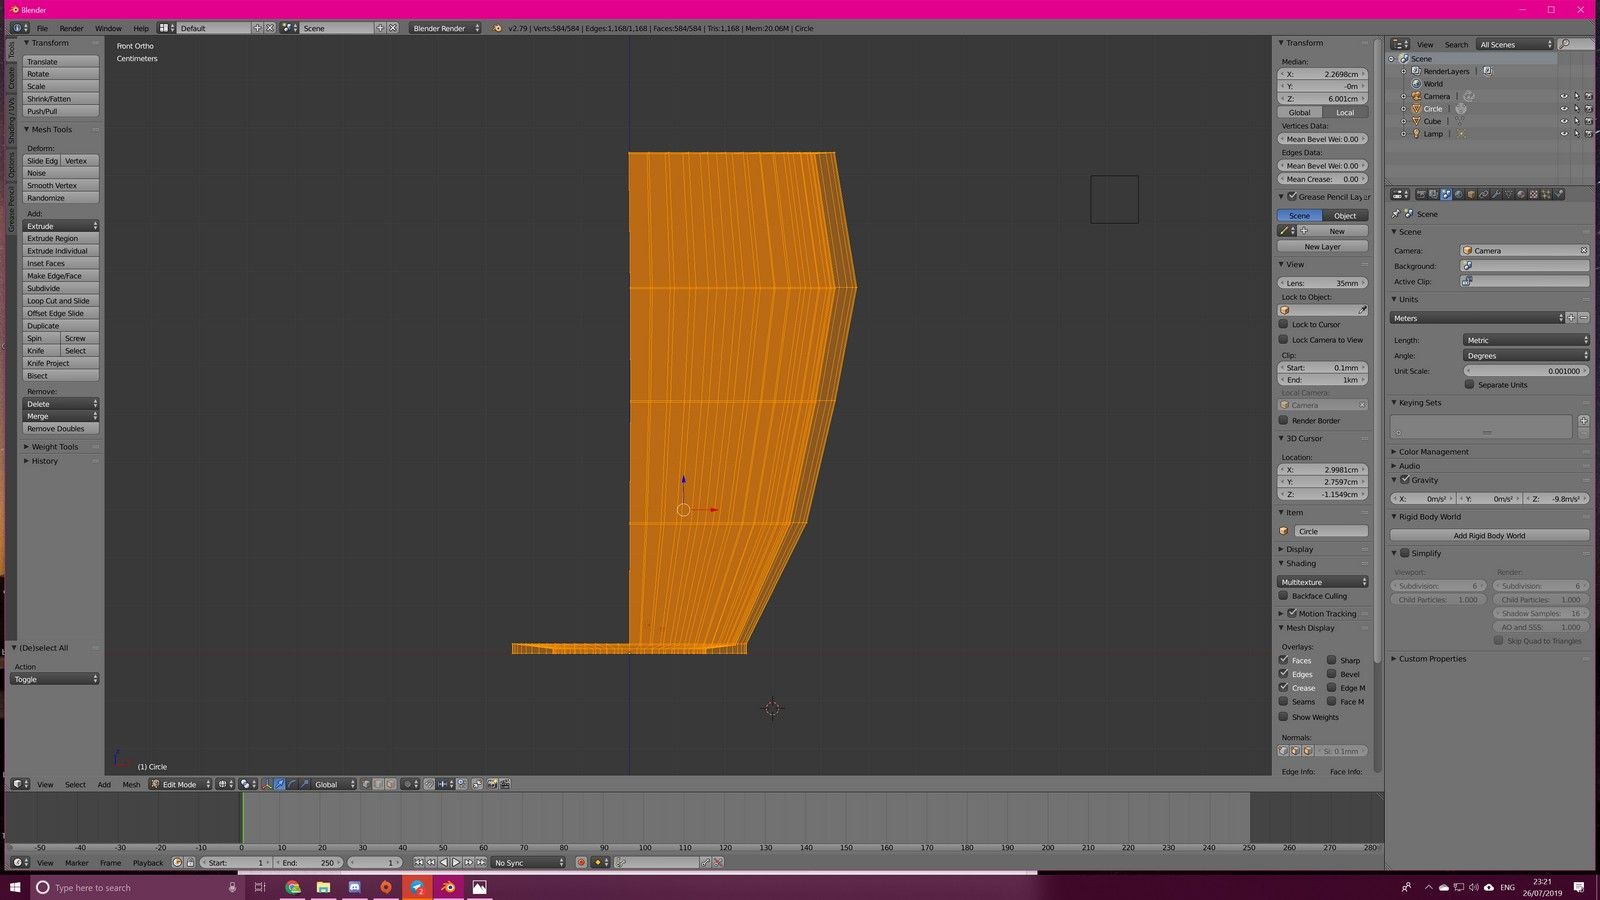
Here it is in the 3D view.

Sanity checks
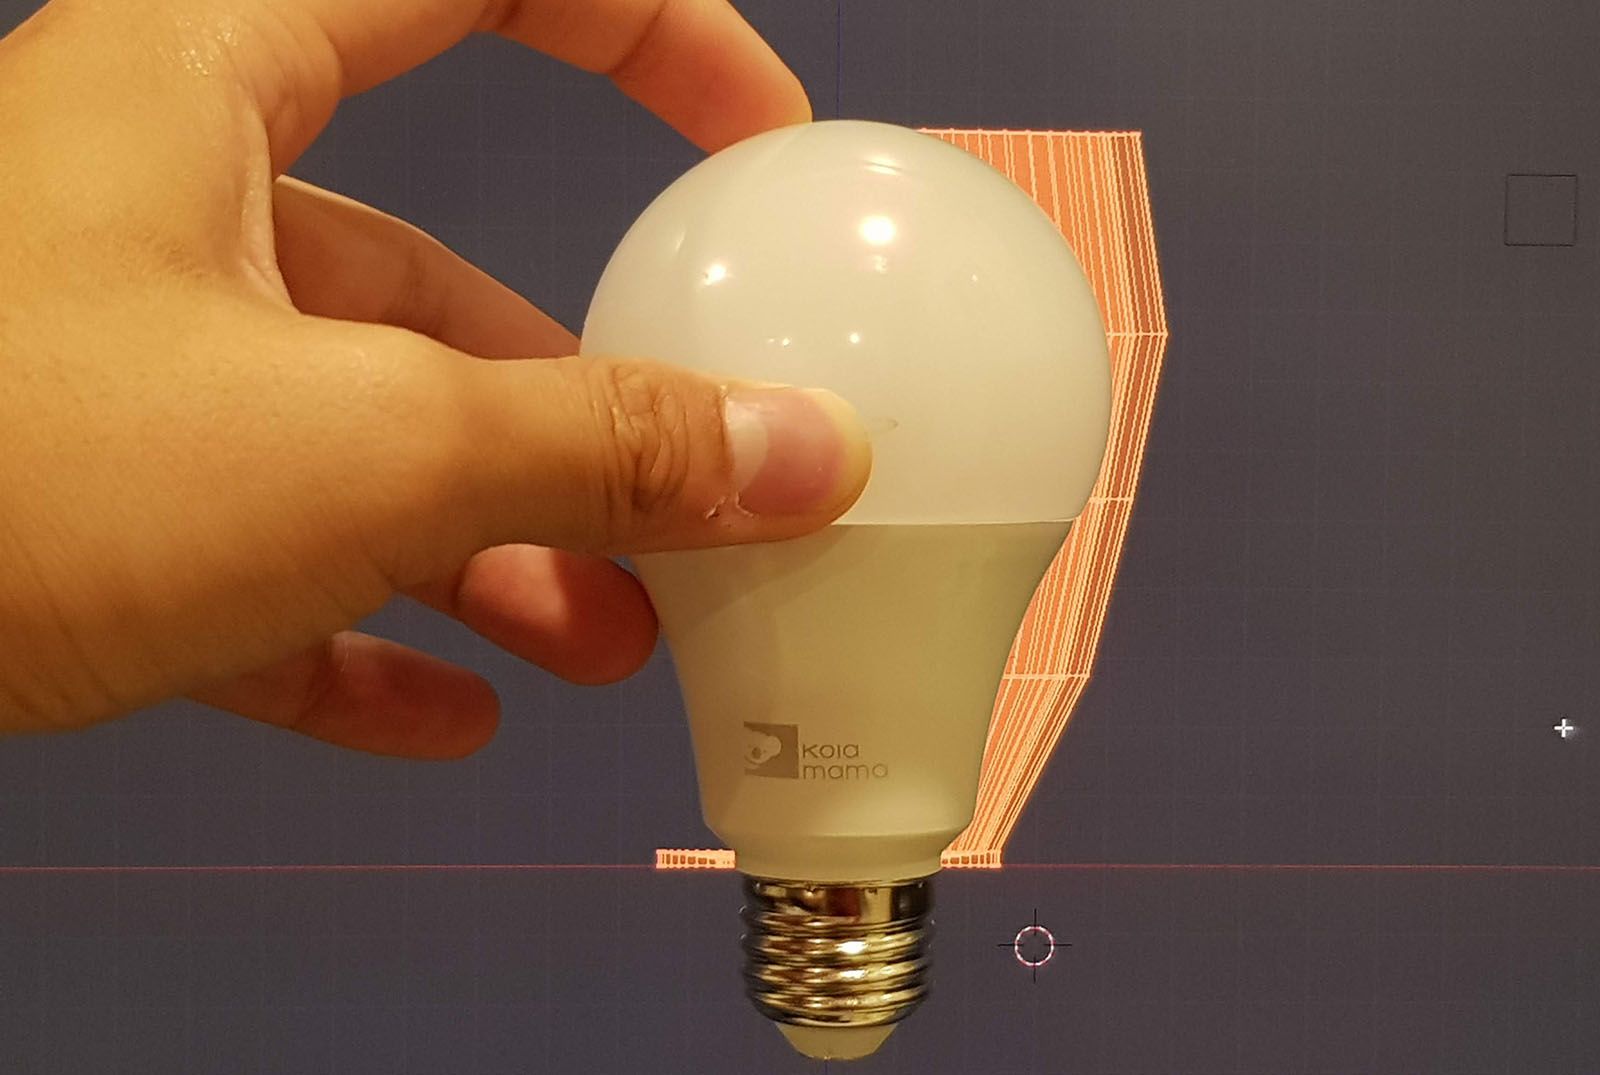
There are a few ways to do sanity checks to make sure you didn’t horribly mess up. For me, that was a matter of zooming the viewport such that it was roughly the same size as my screen, then I took the light and held it up to the screen to see if it fit.
It’s a good thing I did this because I had set the radius of the circle as 31mm instead of the diameter. I did some quick fixes and you can see the final correct sanity check in the image below.
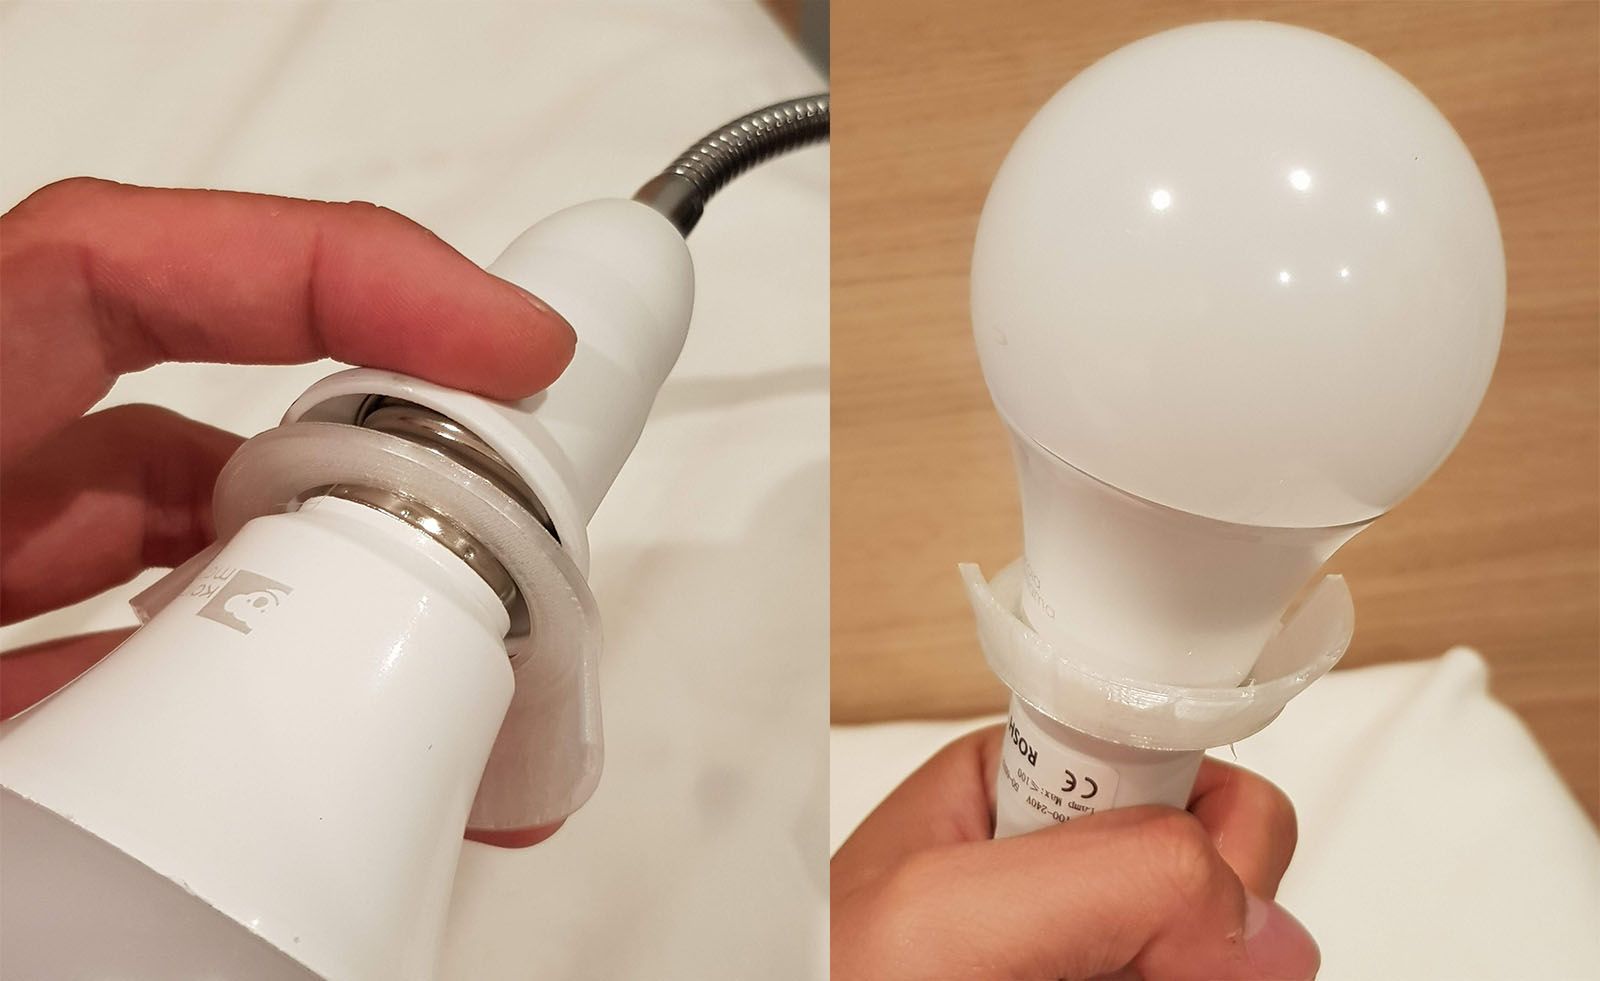
The next check I did was to print only the first few layers of the light to make sure that when I screwed it in, the light would still screw in and turn on properly.
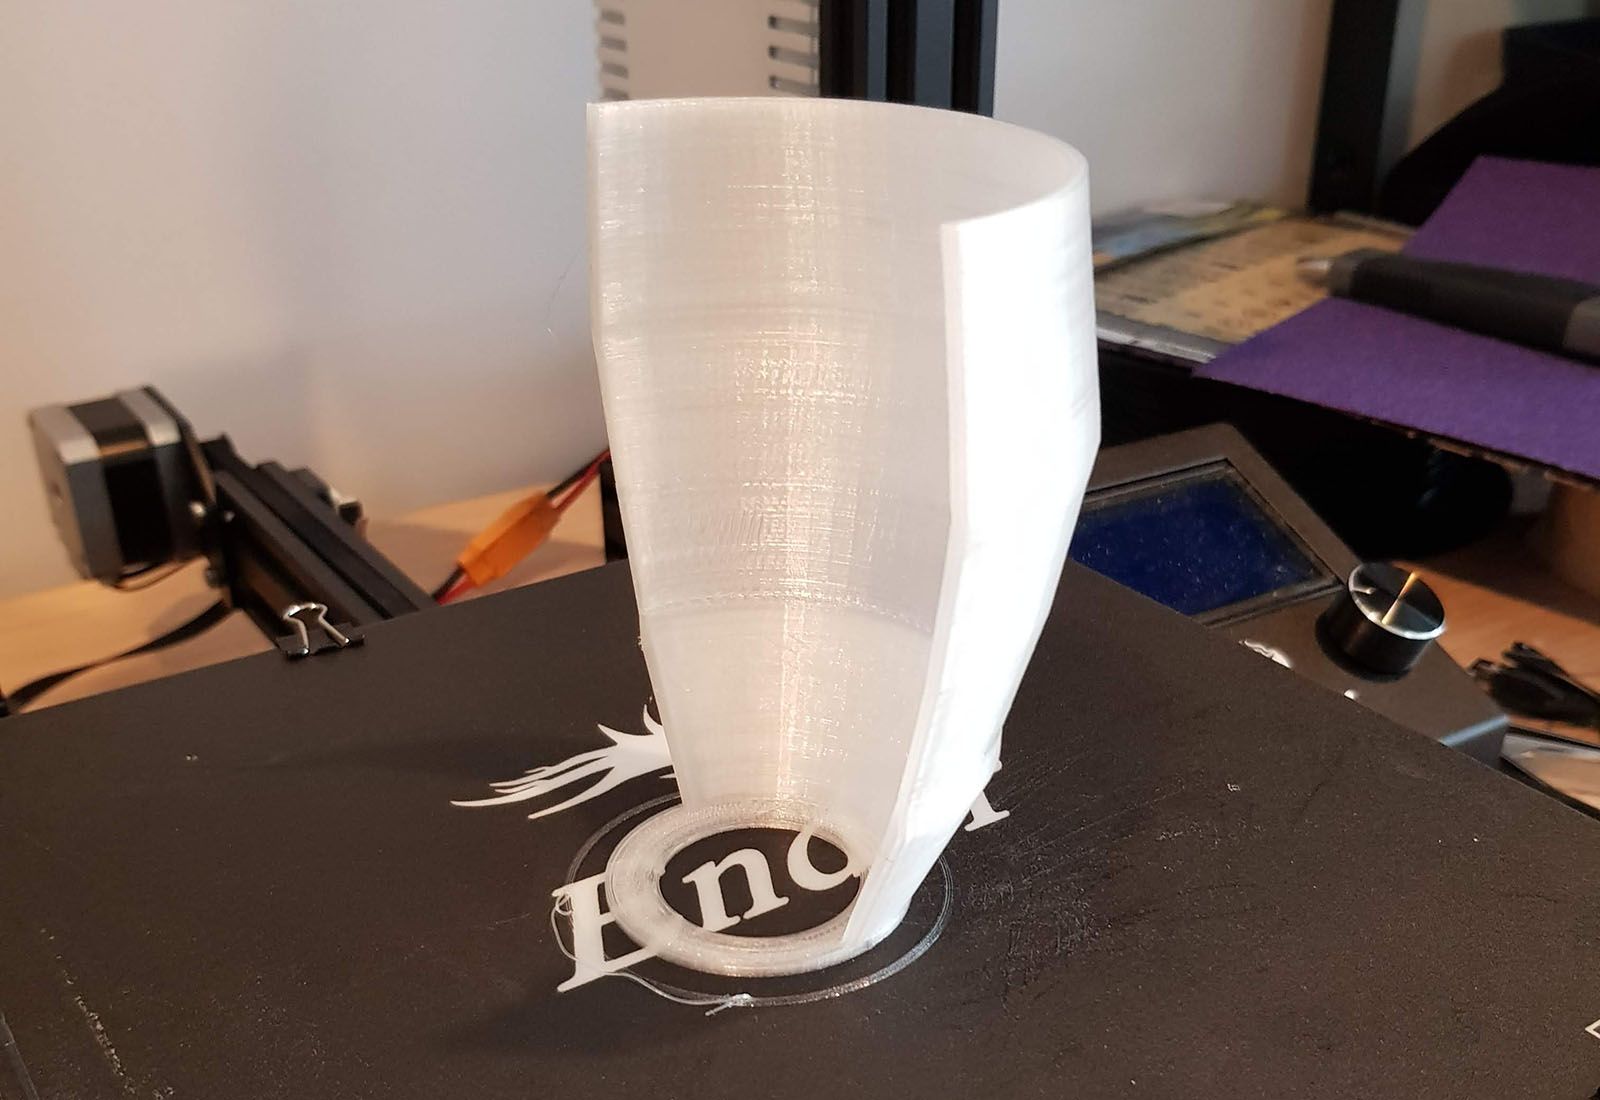
The final print
After I was satisfied that the measurements and model was correct, I printed the whole model. You can see the final product below. Overall, I’m pretty happy with the outcome.
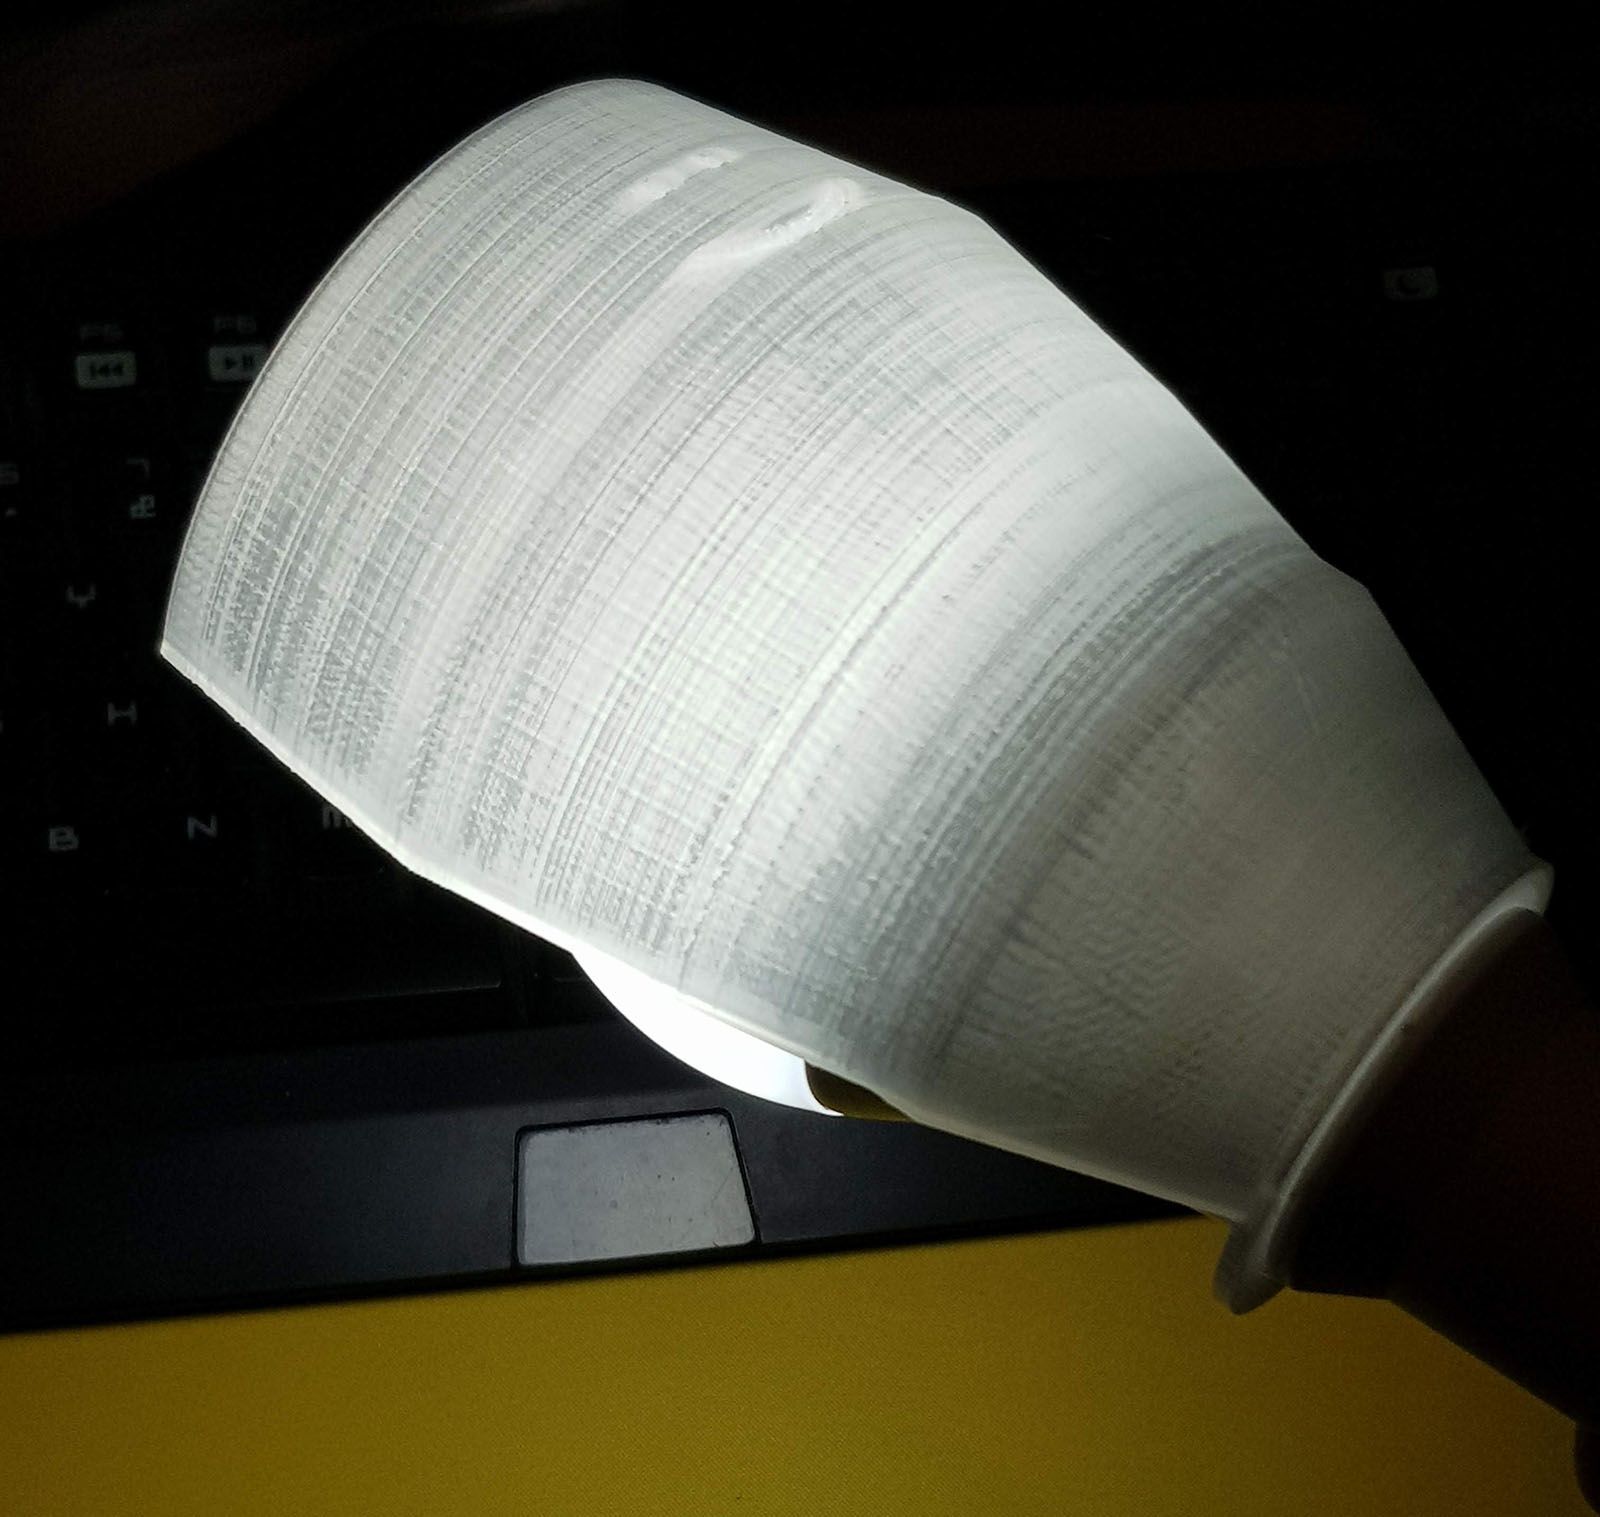
And there you have it, a fully functional lampshade printed for about 20 cents. And electricity, and the modelling time and effort, and printer cost, and depreciation... Maybe it would have been cheaper to buy a lamp with a shade on it.